Last updated November 17, 2026








Free written scope consultation - allowances, timeline, and change-order rules on paper before a single trade is scheduled
General Contractor Maintenance Schedule: What to Do and When
Most contractors hand you a warranty document at the end of a job and walk away. Almost none of them tell you the part that actually matters: a warranty is a two-way agreement, and it only pays out if you can show you maintained the work. Skip a seasonal caulk check, ignore a hairline grout crack, or let a tiny leak run for a month, and you can void coverage on a project you paid five figures for. This guide is the calendar we wish every homeowner had at closeout. You’ll learn the 30-60-90-day inspection checklist, the annual tasks that matter in Enterprise’s desert climate, which items are genuinely the contractor’s responsibility versus normal upkeep, and how to build a project file that makes future repairs and resale painless.
Quick Answer
After a remodel closes out, inspect the work at 30, 60, and 90 days for settling, caulk separation, and grout cracks, then move to a seasonal rhythm: caulk and stucco checks twice a year, HVAC filter changes every 60 to 90 days in Enterprise’s dust-heavy air, and an annual walkthrough of every wet area. Year one is about catching small movement before it becomes a repair; years two through five are about protecting the warranty with documentation. A written maintenance log and a project file are what prove you held up your end.
Styles & brands we work with
- Kitchen remodeling
- Bathroom remodeling
- Home additions & ADU
- Roofing
- Windows & doors
- Driveway & pavers
- Fence
Table of Contents
- Why the First Year After a Remodel Decides the Next Ten
- The 30-60-90-Day Post-Project Inspection Checklist
- Seasonal Maintenance for Nevada’s Desert Climate
- Which Warranties Get Voided by Common Oversights
- Building a Home Project File That Protects You
- Contractor Responsibility vs. Normal Homeowner Upkeep
- Year Two and Year Five: What to Revisit
- Common Mistakes to Avoid
Why the First Year After a Remodel Decides the Next Ten
New construction moves. Not because it’s failing, but because every material in your home expands and contracts at a different rate. Wood framing shifts as it acclimates. Grout and caulk flex against tile and stone. Stucco cures and settles against the sheathing behind it. In the first twelve months after a project wraps, your home is finding its new equilibrium, and that’s exactly when small gaps open up.
In Enterprise, the swing is more aggressive than most of the country. Summer afternoons push past 105°F, winter nights dip toward freezing, and that daily thermal cycle works on every joint in the house. We’ve watched a hairline crack at a shower corner turn into a soft spot in the drywall behind it within two seasons, simply because nobody looked. We’ve also seen a homeowner catch the same crack at the 60-day inspection, run a bead of silicone, and never think about it again.
That’s the whole argument for a maintenance schedule: the cost of a check is minutes, and the cost of a missed check is often thousands. A finished general contractor project in Enterprise isn’t the finish line. It’s the start of a maintenance window where small checks in year one prevent expensive repairs in year five.
This guide assumes the work was done right and covered by a written guarantee. If it wasn’t, maintenance won’t save you; a paper trail will. That’s why every project we manage ends with a written price on record, a written guarantee with stated terms, and a 365-Day Done Right Promise: if the work isn’t right within a year of completion, we make it right at no cost.
The 30-60-90-Day Post-Project Inspection Checklist
The first three months are when settling is most visible and easiest to correct. Block 30 minutes on your calendar at each interval. You’re not fixing anything yet; you’re documenting and flagging.
- Day 30: Walk every caulk joint in wet areas. Look for separation at the tub-to-tile seam, the shower corners, and where the backsplash meets the counter. Photograph anything that’s pulling away. Check grout lines for cracks the width of a hair. Open and close every cabinet and door; note any that stick or rub.
- Day 60: Re-inspect the same joints. If a caulk line you noted at day 30 has widened, that’s movement worth reporting, not just re-caulking. Check HVAC airflow room by room; new ductwork and freshly sealed rooms often need a damper adjustment or a filter change to balance. Look at exterior stucco at corners, window frames, and where additions meet original walls.
- Day 90: Do a full wet-area sweep with a flashlight: under sinks, behind the toilet, at the base of the shower pan. Look for water staining, soft drywall, or musty smell. Test every GFCI outlet. Check that exterior drainage still slopes away from the foundation after any landscaping settled.
Write down what you find, date it, and photograph it. That log is what turns a warranty claim from a debate into a five-minute conversation. If something looks wrong and you’re not sure whether it’s normal settling or a real defect, call us; a free return visit is standard on any repair or installation that fails.
Seasonal Maintenance for Nevada’s Desert Climate
Generic maintenance advice written for a temperate climate will get you into trouble in Enterprise. Our air is dry, dusty, and hot, and our temperature swings are brutal on exterior surfaces. Here’s what actually matters here.
- Thermal expansion gaps: Exterior trim, window frames, and hardscape joints need room to move. If a joint is packed tight with filler, the material has nowhere to go and will crack. Check these twice a year, spring and fall, as the seasons turn.
- Stucco checks: Stucco is the dominant exterior finish in Enterprise, and it’s excellent at shedding heat, but it cracks at stress points: corners, penetrations, and where additions meet the original structure. Inspect after the first hot stretch in late spring and again after the first cold snap.
- HVAC filter cycles: Desert dust loads filters faster than most manufacturer guidance assumes. In Enterprise, plan on 60-90 days between changes during heavy-use months, and check monthly during dust storm season. A clogged filter strains the system and can void equipment warranties.
- Hardscape and pavers: Patios and driveways built with Techo-Bloc or Cambridge Pavers need a joint-sand top-up once a year. Polymeric sand washes and settles; a fresh layer keeps weeds out and stabilizes the surface against expansion.
- Irrigation and drainage: Drip lines clog with mineral buildup. Flush them and check emitters each spring, and confirm that water still runs away from the house after a monsoon-grade rain.
A written seasonal calendar, taped inside a cabinet door, beats any app. Two dates a year for exterior checks, four for filters, and one full annual walkthrough of every wet area is enough for most Enterprise homes.
Which Warranties Get Voided by Common Oversights
Warranties don’t fail because contractors are looking for an exit. They fail because coverage depends on maintenance, and most homeowners never received a maintenance list. Here’s how it plays out in practice.
Manufacturer warranties on tile, grout, and waterproofing systems typically require that joints be maintained and that moisture intrusion be addressed promptly. A shower that’s been leaking behind the wall for six months is a maintenance failure, not a defect, and the claim gets denied. The same logic applies to HVAC equipment: skip the filter changes, and the compressor failure becomes your bill, not theirs.
Craftsmanship guarantees work differently. Ours covers the work itself for 365 days from the completion date, with terms stated plainly in writing: what’s covered, what’s excluded, and for how long. What voids a craftsmanship claim is usually a homeowner alteration or an unreported problem left to worsen. If you notice a leak at the 30-day mark and call, that’s covered. If you notice it and wait eight months, the damage is now on you.
The practical rule: report anything within two weeks of noticing it. Document it with a dated photo. Keep the report in your project file. That one habit protects nearly every warranty in the house. If you want to see how we state coverage up front, look at how we handle pricing and guarantees on our bathroom remodeling projects in Enterprise; the paperwork standard is the same on every job.
Building a Home Project File That Protects You
A project file is the single most useful thing you can keep after a remodel. It shortens future repairs, prevents warranty disputes, and adds real value at resale, because buyers and inspectors trust documented work far more than verbal assurances.
- Start with the permits. Keep copies of every permit application and, more importantly, the final inspection sign-off. Unpermitted work is a resale problem, and a finaled permit is proof the work passed code review.
- Collect the as-builts. Floor plans, plumbing and electrical layouts drawn as they were actually built. If you moved a wall during the project, the as-built is the only record of where the studs and pipes really are.
- File the product specs. Cabinet brand and finish, countertop material and edge profile, fixture model numbers, roofing shingle line, paver style, paint colors with sheen and code. Serial numbers for HVAC and appliances. This is what makes a future repair a one-day job instead of a research project.
- Keep the written price and the written guarantee together. They should be in the same folder, with the guarantee terms readable and dated.
- Add your maintenance log. Dated photos, filter changes, caulk checks, anything you noticed and when you reported it.
Paper is fine. A labeled binder in a closet works. If you prefer digital, keep it synced and backed up. Just make sure the file is findable by someone who isn’t you.
Contractor Responsibility vs. Normal Homeowner Upkeep
Homeowners and contractors often disagree about who owns a problem, and the disagreement almost always comes down to whether the issue is a defect in the work or ordinary wear. Here’s the line we draw.
A contractor’s responsibility, covered under a written craftsmanship guarantee, is work that failed before its expected life: a tile that debonded because of a substrate issue, a door that fell out of square from improper installation, a plumbing connection that leaked from the joint rather than from the fixture. Failed installations and repairs get a free return visit from us, no dispute process. We’ve seen the same problems recur in Enterprise subdivisions and know what a defective install looks like versus a house that’s just aging.
Normal homeowner upkeep includes caulk joints as they age, filter changes, seasonal hardscape sand, grout resealing, paint touch-ups from sun fade, and any damage caused by movement of the house itself or by a skipped check. These are chores, not claims. The stucco on every home in Enterprise fades and cracks eventually; that’s climate, not craftsmanship.
Year one is the grey zone where most claims happen, and where a documented report makes the difference. Which is why we ask homeowners to call about anything that feels wrong within the first 365 days. Better to send someone out on a free visit and confirm the work is fine than have a small problem turn into a year-five expense.
Year Two and Year Five: What to Revisit
Year two: Re-caulk all wet-area joints as a routine task, not a repair. Have the hardscape joints topped off with fresh sand. Walk the roof edges (from the ground) for shingle and flashing condition after a summer of UV. Check the thermal expansion gaps on exterior trim again; if any are packed tight, open them. Look at the grout in high-traffic areas and reseal it if it’s been more than two years.
Year five: A more thorough audit. Reseal natural stone and grout. Inspect the water heater, HVAC condensate lines, and any supply shutoff valves for corrosion; replace the cheap ones proactively. Check the paint on exterior wood and trim, and refinish before it fails. Inspect the roof and the caulk lines around every window and door. Revisit your as-builts and update anything you’ve changed.
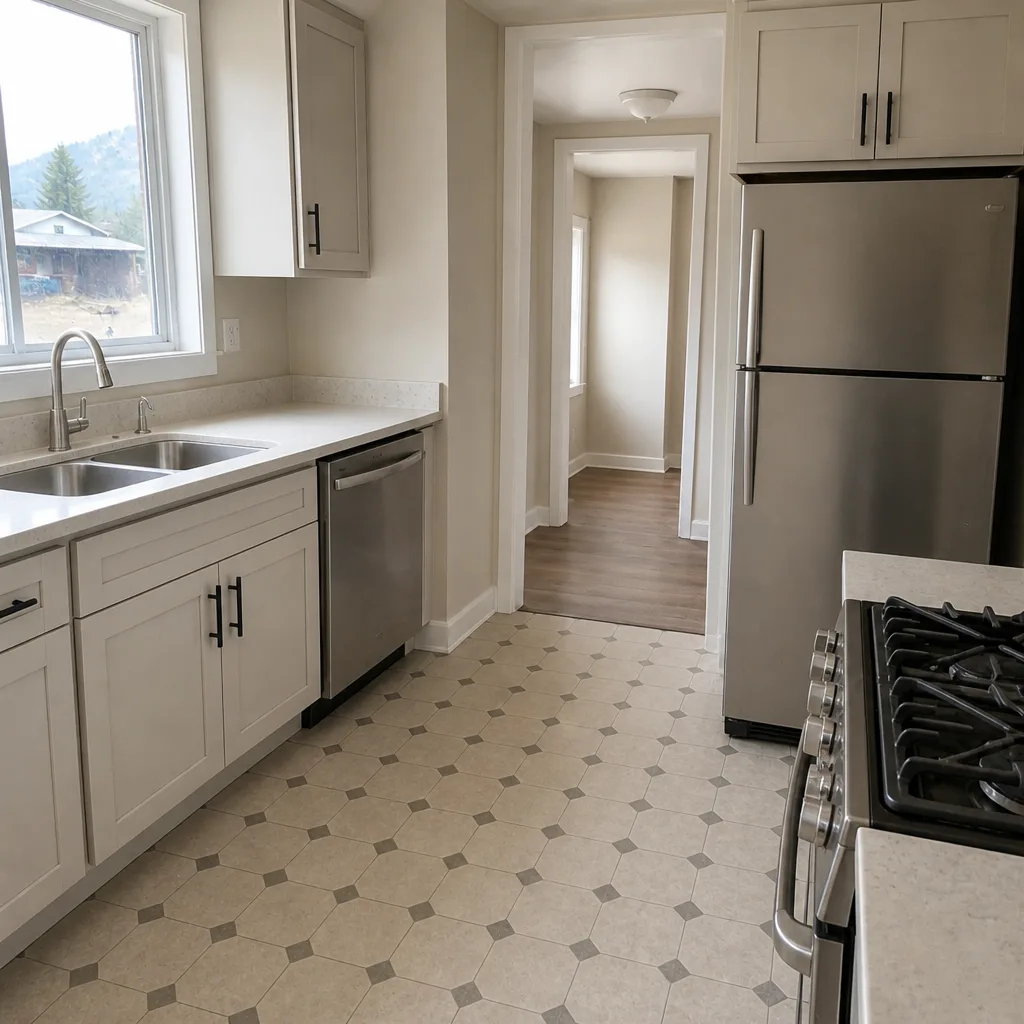
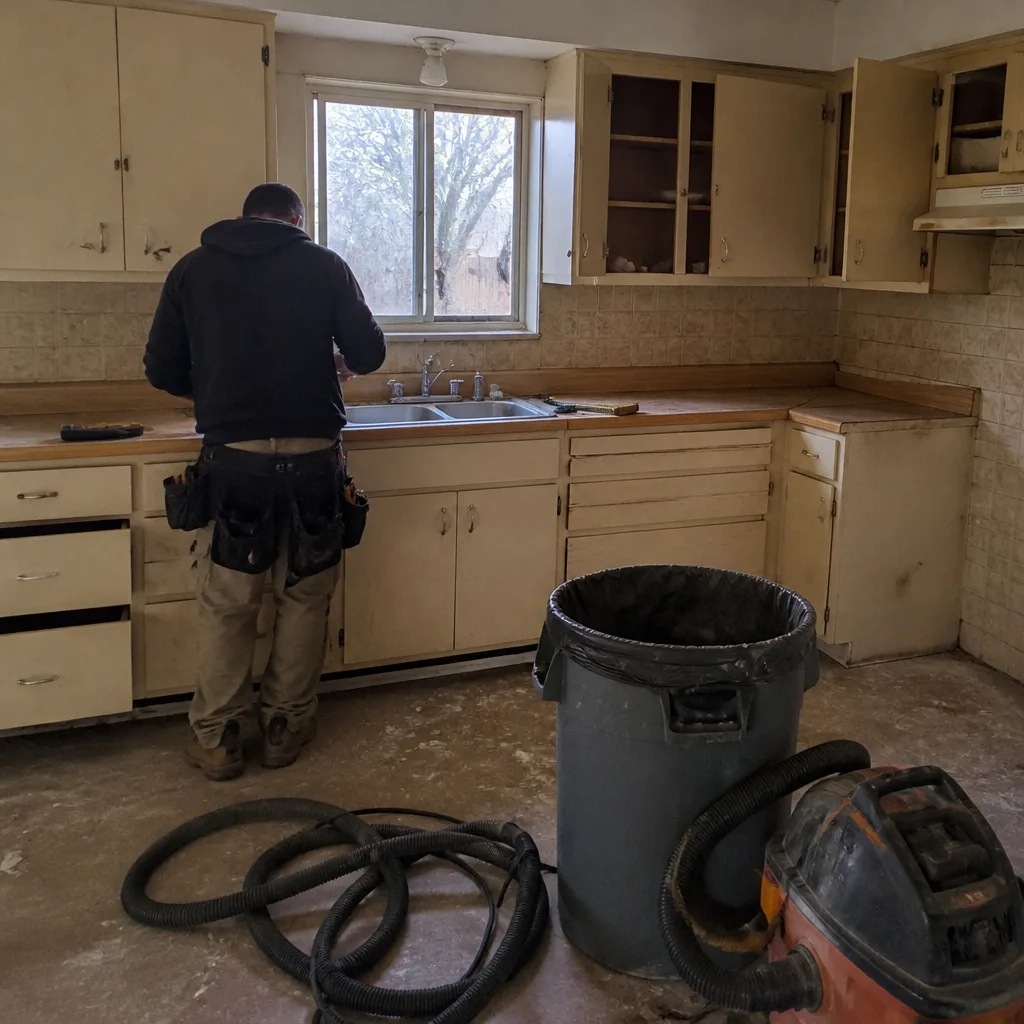
The year-two and year-five items are almost all homeowner upkeep. The exceptions, where a contractor is still responsible, are genuine installation failures that surfaced within the guarantee window and were reported. That’s why the log and the file matter: they’re how you prove the difference when it counts. Every completed kitchen remodeling project in Enterprise we hand over comes with the guarantee in writing and the terms spelled out, because we expect you to actually use it.
See the difference
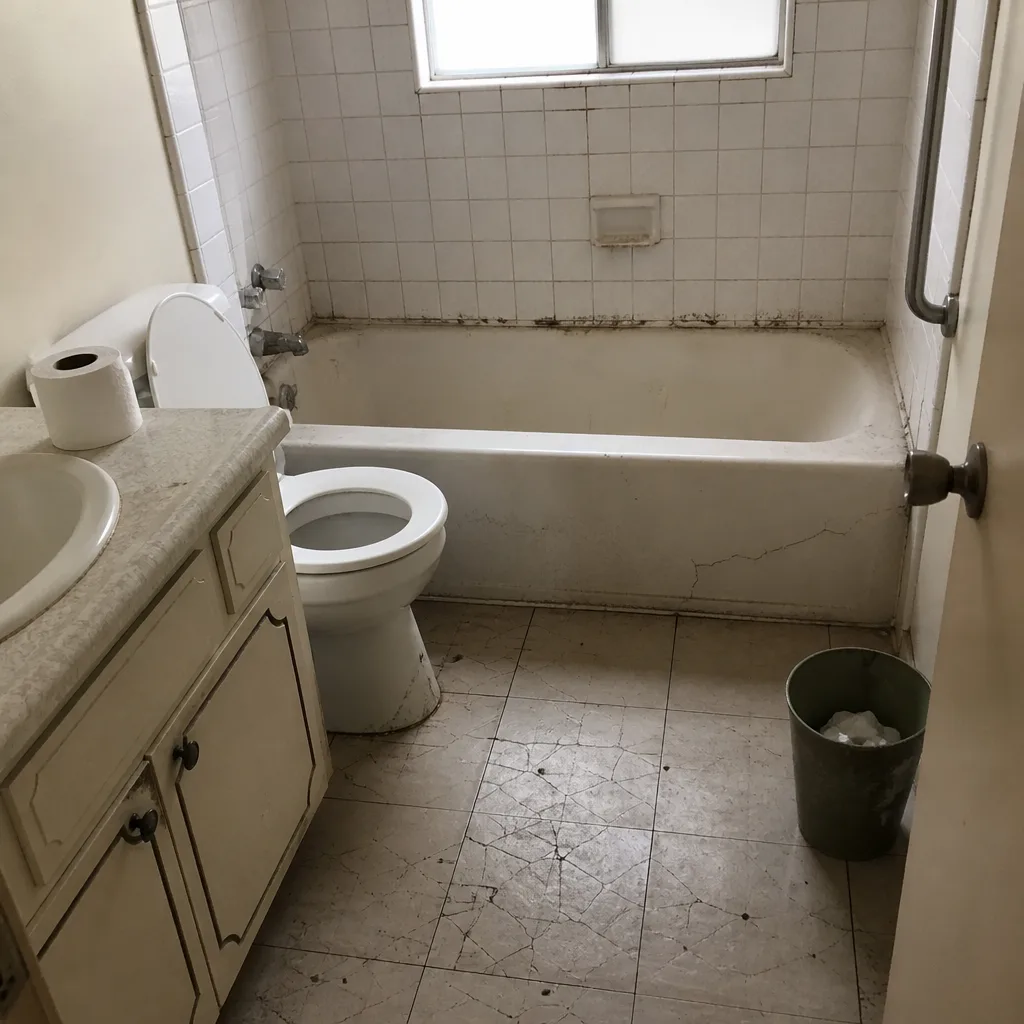 Before
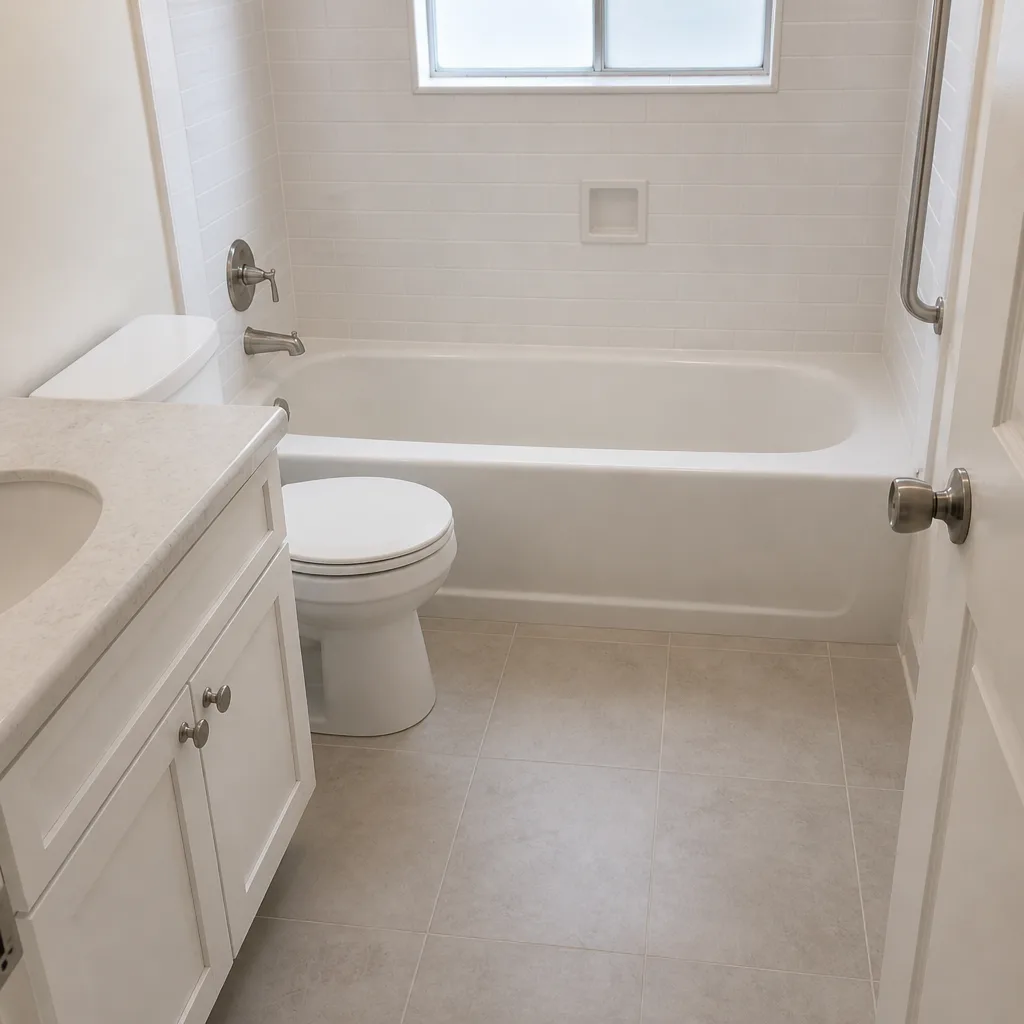 After
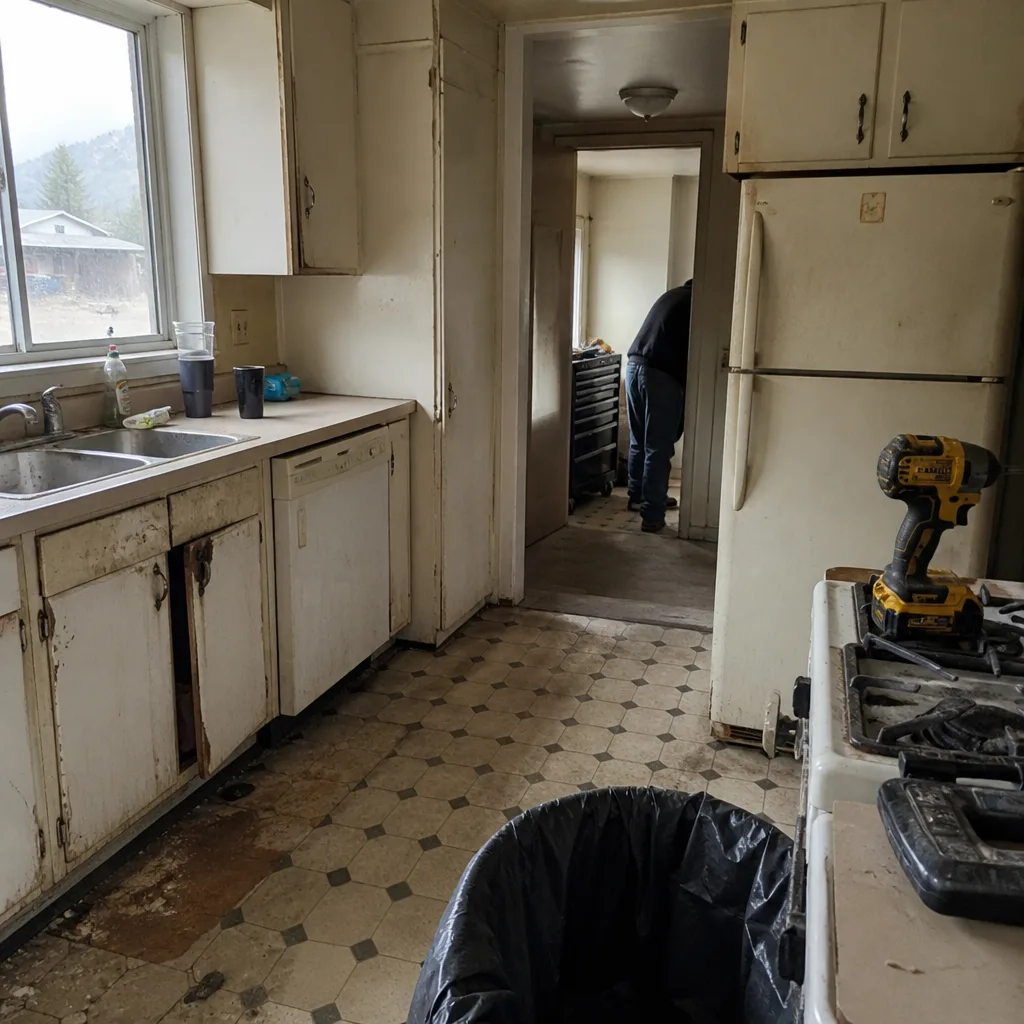 Before
 After
 Before
 After
Common Mistakes to Avoid
- Never photograph or log anything. A warranty claim without a dated photo is your word against a contractor’s memory. Two seconds with a phone, once a month, changes that balance.
- Re-caulking without reporting first. If a joint separated at 60 days, it’s a defect signal, not a maintenance chore. Report it; then caulk it. Caulking first erases the evidence.
- Ignoring small leaks. In desert homes, a small leak behind a shower wall evaporates fast and hides for months, then shows up as soft drywall and a five-figure repair.
- Skipping seasonal caulk checks because “it’s dry here.” Enterprise’s dry air means materials shrink more, not less. Caulk fails from thermal cycling, not moisture alone.
- Letting stucco cracks run unchecked through two seasons. A hairline crack at a corner is a maintenance item; a crack you can fit a dime into after two winters is a water intrusion risk.
- Changing HVAC filters only when you remember. Desert dust loads filters faster than manufacturer guidance. A 60-90 day cycle is the working minimum here.
- Losing the project file. Without permits, as-builts, and product specs, every future repair starts from scratch, and resale disclosure gets messier. Keep it in one place and keep it current.
When to Call a Professional
Call a professional when something involves water, structure, or a system you can’t safely assess. That means: any leak or water staining you can’t trace, soft drywall or a spongy floor, a door or window that’s gone noticeably out of square, a crack in stucco wider than a quarter inch, an electrical outlet that runs warm, or a shower that stays damp far too long. None of these are DIY territory; water behind a wall and electrical wiring are two of the fastest ways to turn a small expense into a dangerous one, and we always recommend a trained professional verify before you open anything up.
Mason Remodeling Enterprise offers free estimates in Enterprise for that kind of assessment. Call (844) 797-6157 and a live person answers, around the clock. You’ll get a written price before any work begins, and if the issue turns out to be covered by the 365-Day Done Right Promise, it’s handled at no cost to you.
Frequently Asked Questions

Thirty days after completion. That’s when settling is most visible and easiest to correct. Walk every caulk joint, grout line, door, and cabinet, and photograph anything that’s moving. If you spot a genuine issue, call (844) 797-6157; estimates are free and reporting early protects your coverage.
It can. Most manufacturer warranties on tile, waterproofing, and HVAC equipment require maintenance, and craftsmanship guarantees usually exclude problems that were reported late or made worse by neglect. Report anything within two weeks of noticing, keep a dated photo, and store it with your written guarantee. If you’re unsure what your coverage includes, call us at (844) 797-6157.
Every 60 to 90 days during heavy-use months, and monthly during dust storm season. Desert dust loads filters faster than most manufacturer guidance assumes, and a clogged filter strains the system and can void equipment warranties. If your filter is visibly grey at the 30-day check, shorten the cycle.
Installation failures are contractor issues; aging materials are homeowner upkeep. A tile that debonded from a substrate problem is a defect; a caulk joint that dried out after two years is a chore. The line usually comes down to whether the work failed before its expected life, and whether you reported it in time. Call (844) 797-6157 for a free assessment if it’s unclear.
Permits with final inspection sign-offs, as-built drawings, product specs and serial numbers, the written price, the written guarantee with its stated terms, and your maintenance log. Keep them together, and keep them findable. This is the file that makes future repairs and resale smoother, and it’s what proves maintenance when a warranty question comes up.
Yes. Every Mason Remodeling Enterprise project is covered by the 365-Day Done Right Promise, and if a repair or installation fails, we make a free return visit at no charge. For anything outside the promise window, we’ll still come out for an estimate, and the price is in writing before work starts. Call (844) 797-6157 to schedule.
If you’re planning a project or just want a second opinion on something that looks off, call (844) 797-6157 for a free estimate. You’ll get a written price before any tool is unpacked, a background-checked, uniformed technician introduced by name and photo before the visit, and a written guarantee with terms stated plainly. Live person on every call, 24 hours a day, every day of the year.
Written by the team at Mason Remodeling Enterprise.